
2.3: More about Sets
- Page ID
- 82984

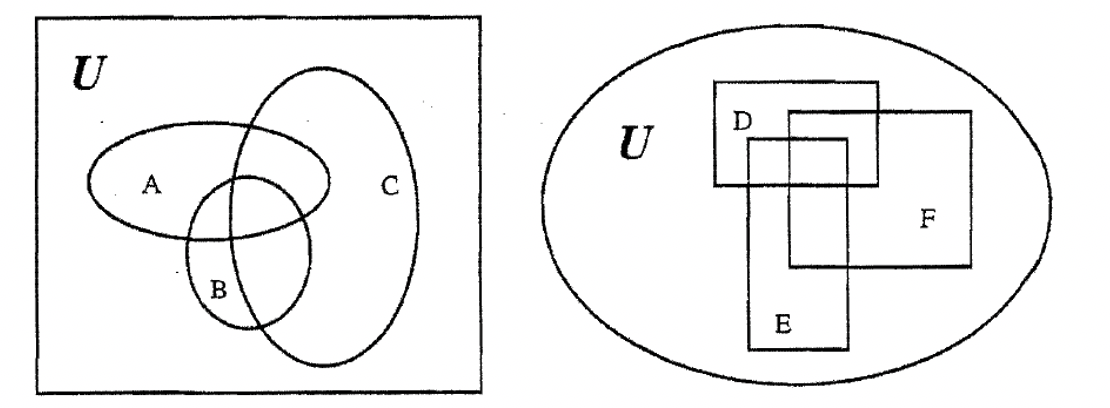
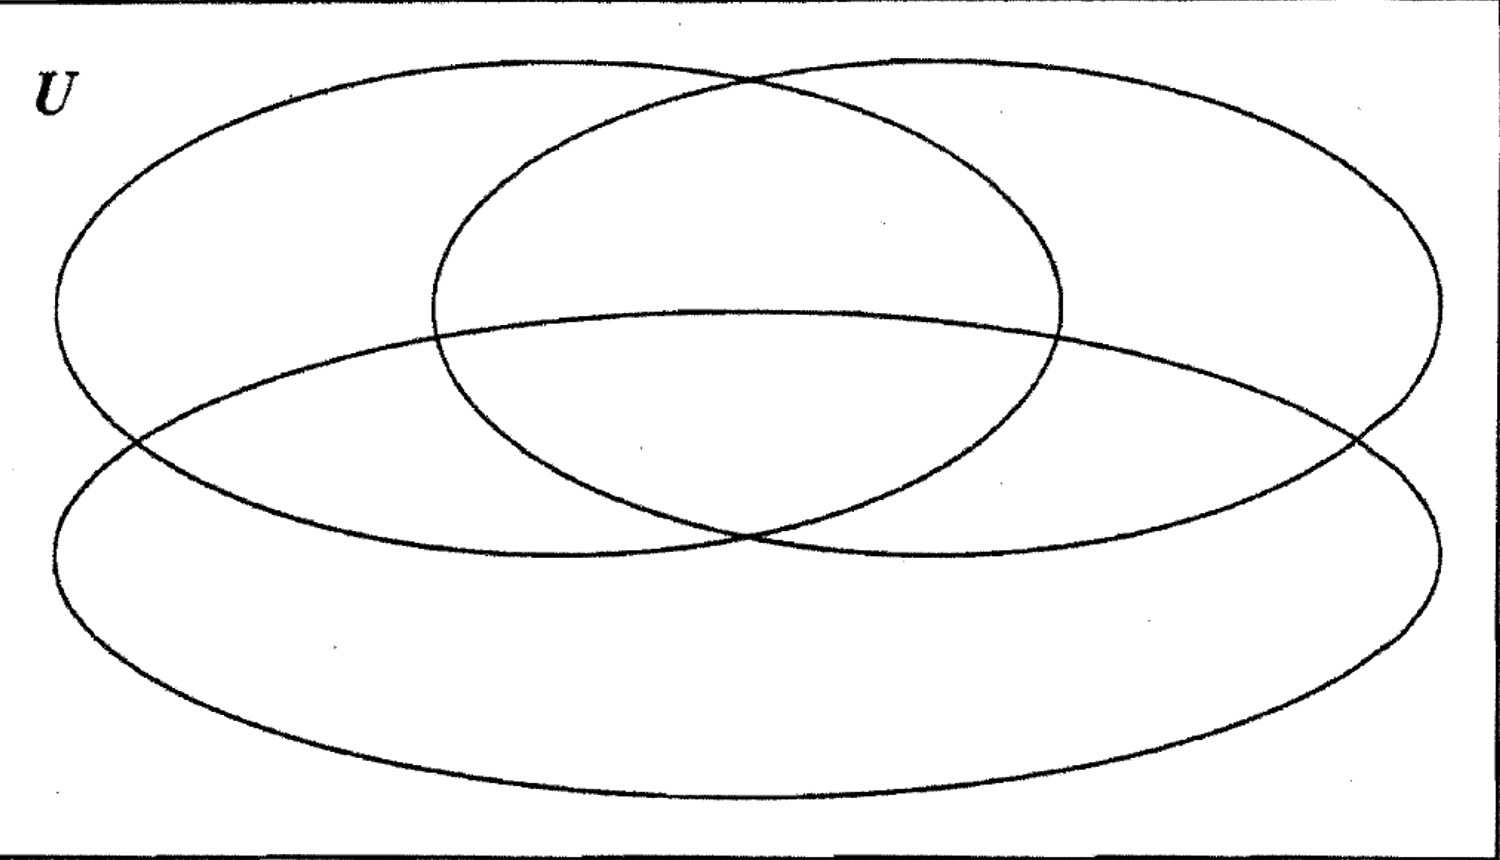
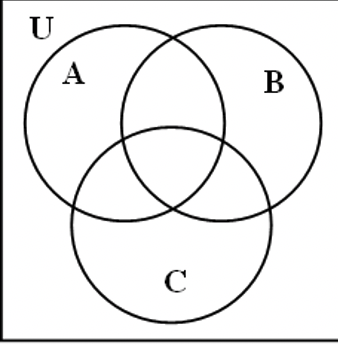
You will need: Scissors, A-Blocks (Material Cards 2A-2E), a large Poster with a three set Venn diagram drawn on it. If you don’t have a poster, look at the diagram to the left. The dashes indicate where you can tape four sheets of paper or card stock (or two open file folders) together and then draw a big three set Venn diagram.
Now that you’ve mastered shading Venn diagrams (don’t laugh), it’s time to get out your Set of A-blocks (which include the white value label cards). Each circle represents a set and we’ll be labeling each circle with different value label cards (the white cards in each set of A-blocks) in the various exercises.
Start by choosing a value (a particular color, shape or size). Put its value label card - Red, Blue, Green, Yellow, Triangle, sQuare, Circle, Small or Large on one of the circles (representing a set) on the Venn diagram. Place all the A-blocks having that value (e.g., all squares) in that circle. Leave those pieces there. Now choose another value and put its label card on one of the other circles. Place all the A-blocks having this second value in this second circle. Notice that the circles overlap. Make sure a piece from one value isn’t in the overlap unless it also belongs in the other circle. You can use abbreviations when answering these questions.
What was your first value? ____ What was your second value? ____
Did any pieces belong in both circles? ____ If so, which ones? ____
What do we call the overlap? ____
Now add a third value for the third circle on the Venn.
What was your third value? ____
Arrange all 24 pieces on the poster so that each one is in the correct region. Note there are eight different regions on the Venn diagram. Some pieces might be outside all three circles. It all depends on what values you chose. To check yourself, look, carefully at each circle (which represents a Set), one at a time. Let’s say squares was the value you chose for one circle. There are four regions in that one circle. All of the squares must be in one of those four spots. Now check each of the next two circles, one at a time. If one circle had a value of small, every single small piece must be in one of the four regions of that circle. Last, you’ll check the third circle. Most people have trouble getting it exactly right the first time through. Just work until you are satisfied every element is in its proper place. Be sure that all 24 pieces are accounted for and that you check your work by looking at each set individually. Then, on the blank Venn diagram shown on the top of the next page, use abbreviations to designate where each piece was placed. Also, label each circle with the value you chose for that set. How many different regions are there in a three set Venn diagram? ____ ( Hint: look at the beginning of this paragraph for the answer.)
If you had trouble with this first exercise, you might want to study the Venn diagram below. The value labels chosen were RED (R), BLUE (B) and CIRCLE (C). The A–blocks are shown in their correct region. Notice there are two of the eight regions that are empty. That is because no element is both red and also blue! The abbreviations for the A–blocks are shown. To check, focus on one set (circle) at a time. All of the red pieces and no others must be in the set labeled RED. All of the blue pieces and no others must be in the set labeled BLUE and all of the circles and no others must be in the set labeled CIRCLE. The remaining eight pieces are outside of the three sets. All 24 pieces must be accounted for.

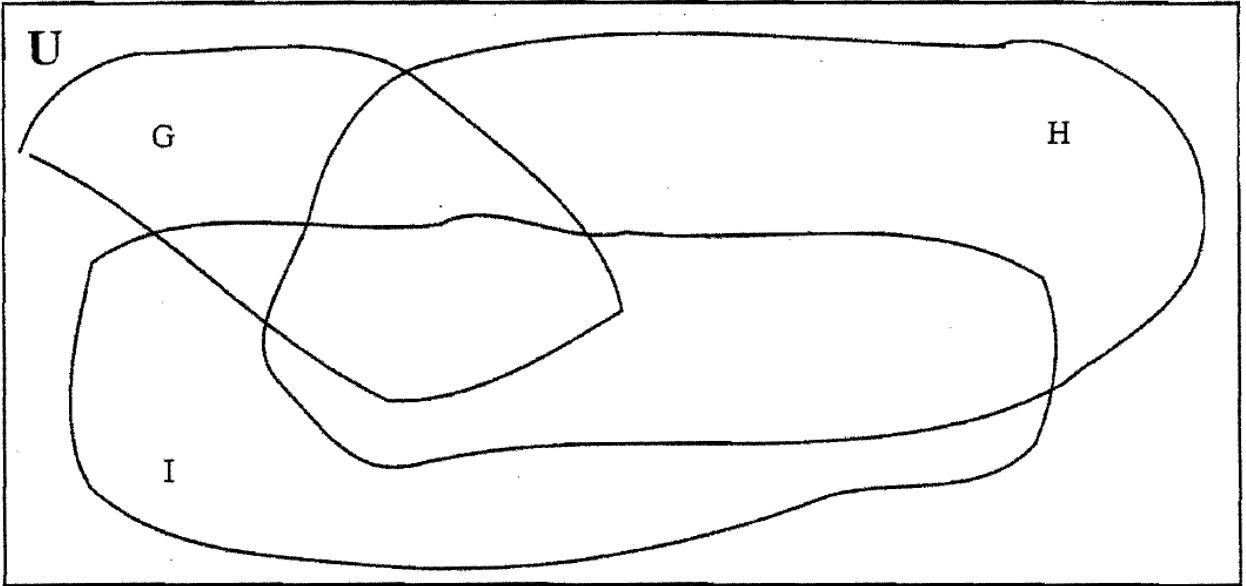
There is a point I want to make about the drawing of Venn diagrams. The sets you draw on a given Venn diagram do not have to be circles and they don't have to be the same size either. You just have to enclose some space. In the previous problem, you may have noticed that I stretched the sets out. I did that so it would be less crowded to fill in the placement of A–blocks. Below are three Venn diagrams each containing three sets. Although they are unconventional, they are legitimate and work fine. It is just usually convenient to make one template and stick with it for uniformity.
In the next few exercises, I've stretched the sets out for you so it will be less crowded to fill in the abbreviations for the placement of A–blocks.
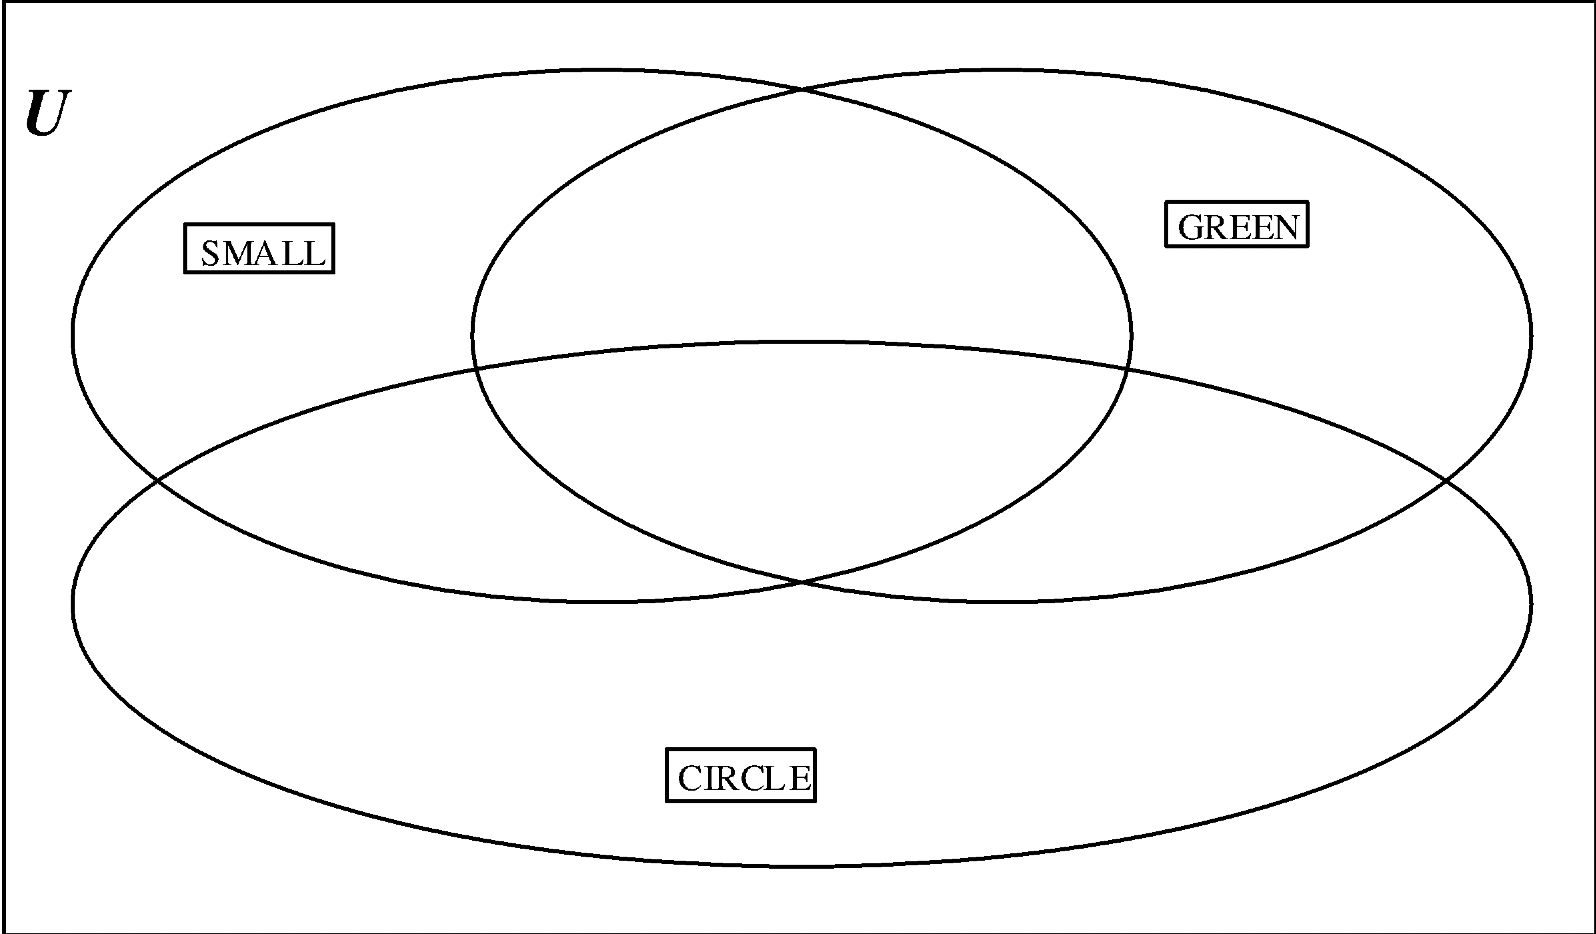
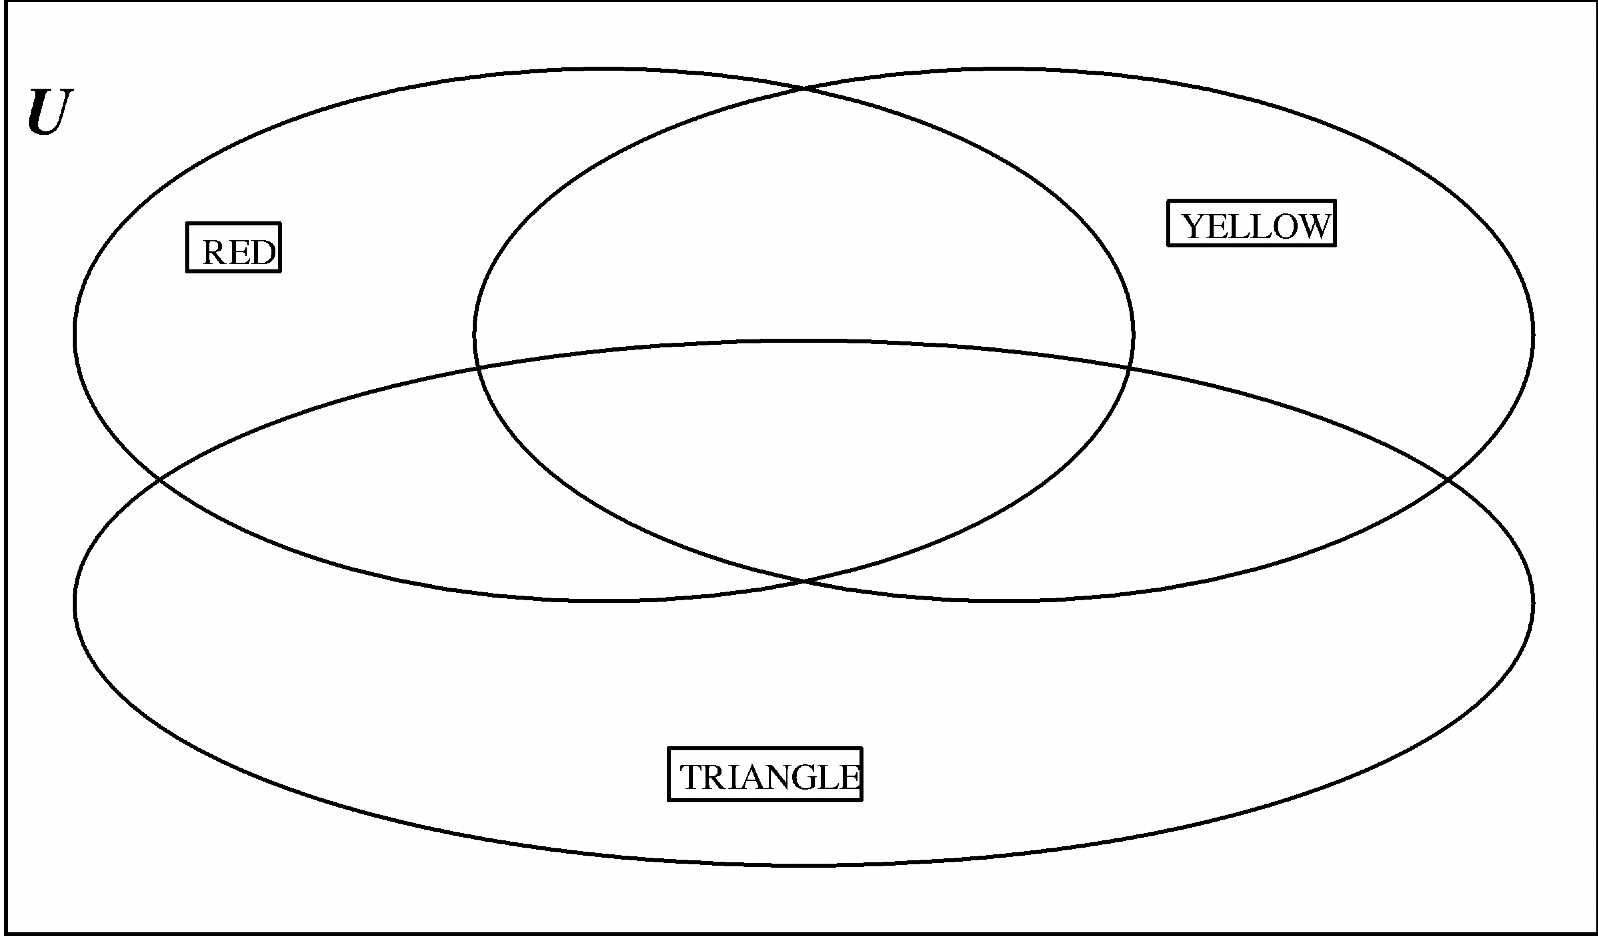
Repeat exercise #1 on each of the next few Venn diagrams but use the three value label cards shown for your three sets. First, use your A–blocks to place each element in the right region on the poster. Be sure you place all 24 pieces somewhere within the Venn diagram (there are eight different regions, and each piece belongs in exactly one of those eight regions.) Check your work by looking at each set individually. After you feel confident you have all pieces placed in the correct region, check your solution against the solution shown in the solution module. Then, on each Venn diagram shown on the page, write where you placed the pieces – use three letter abbreviations or a picture representation. You should feel confident that given any particular A–block, you could place it in the correct region.
a. Values: SMALL (S), GREEN (G), CIRCLE (C)
b. Values: RED (R), YELLOW (Y), TRIANGLE (T)
c. Values: SQUARE (Q), CIRCLE (C), TRIANGLE (T)

d. Values: BLUE (B), RED (R), GREEN (G)

e. Make up a new problem of your own now, labeling each set with a value from your value label cards as in the previous exercises. Show the solution of where each block was placed on the Venn diagram below.
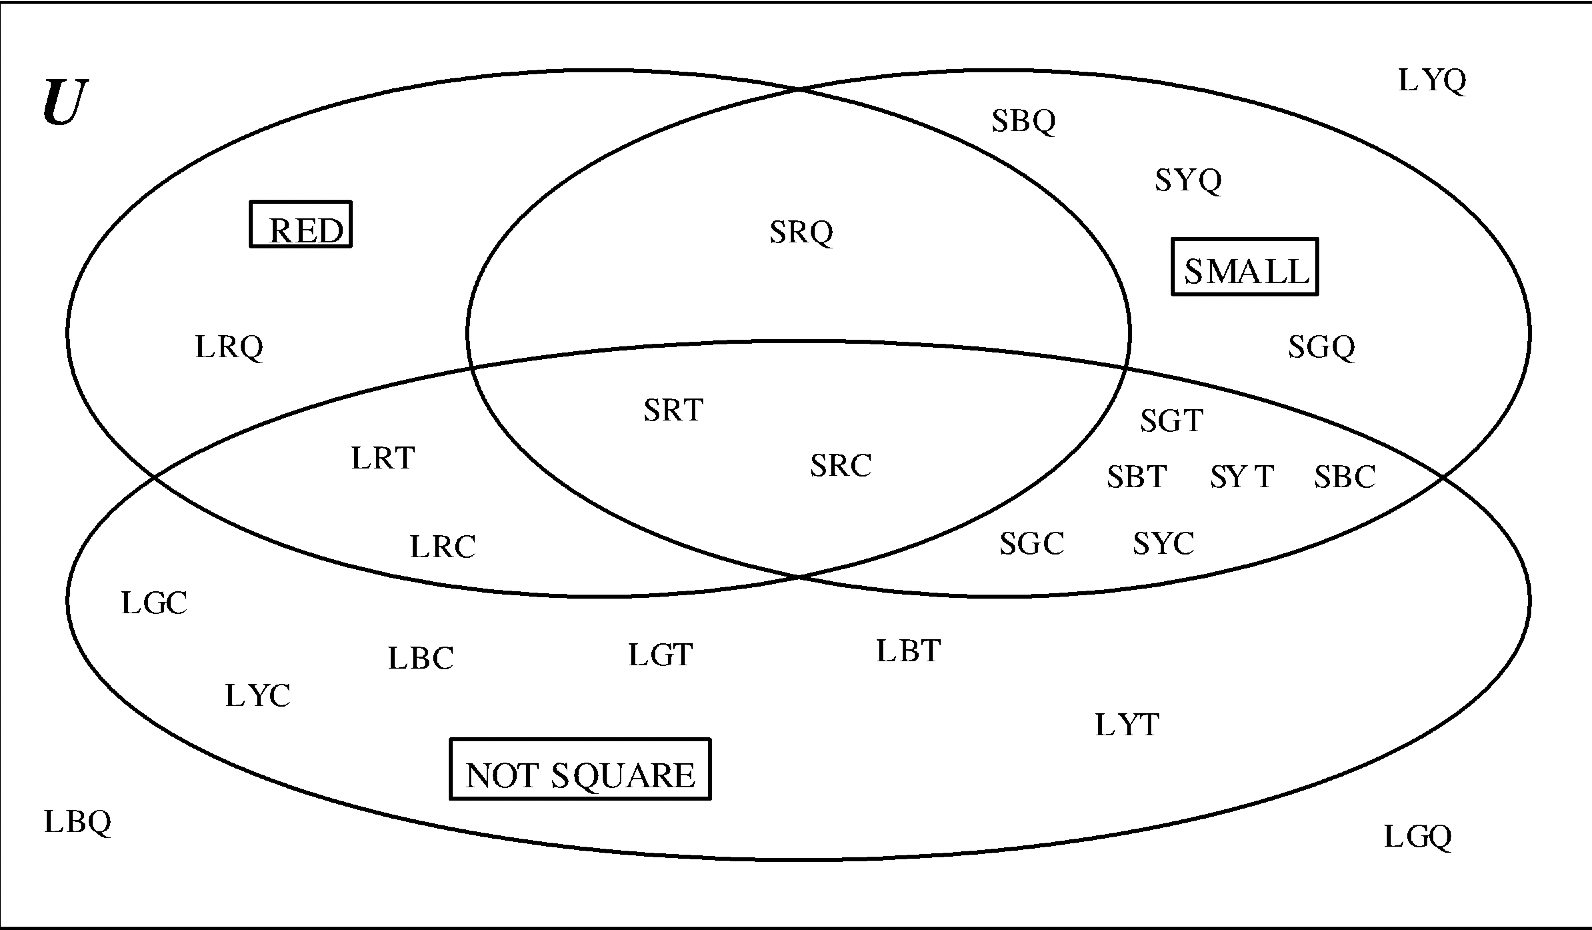
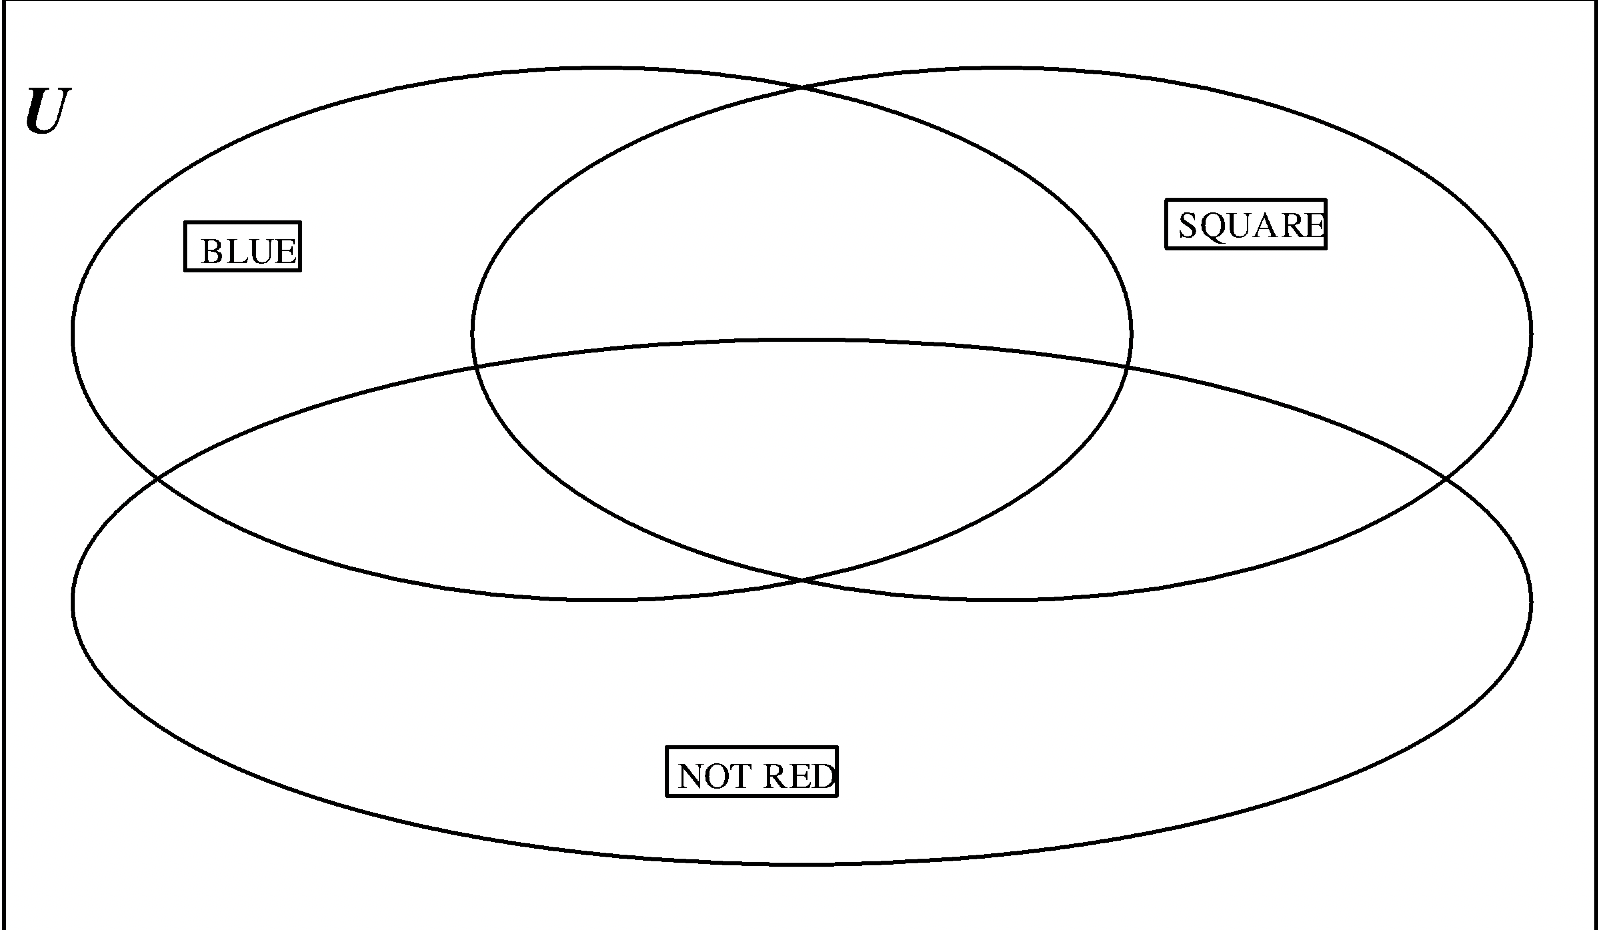
Below is a picture of a Venn diagram where the labels NOT SQUARE (\( \bf Q^{c}\)), RED (R) and SMALL (S) are chosen. It is easy to check because I make sure only red pieces and all red pieces are in the RED circle, all the small and no large pieces are in the SMALL circle and only the squares are outside the NOT SQUARE circle. All 24 pieces are accounted for.
Use some negative (NOT) values now. SMALL and LARGE can be thought of as positive or negative values because SMALL is the same as NOT LARGE. Label each set with a negative value from your value label cards. After placing the pieces on the poster and checking, show the solution of where at least eight A–blocks were placed on the Venn diagram below.

Some negative value label cards are shown on the next few Venn diagrams. Use your A–blocks to place each A–block in the correct region on the poster. Make sure you account for all 24 pieces and check your work by looking at each set individually. Then, on each Venn diagram shown, use abbreviations to designate where eight pieces were placed.
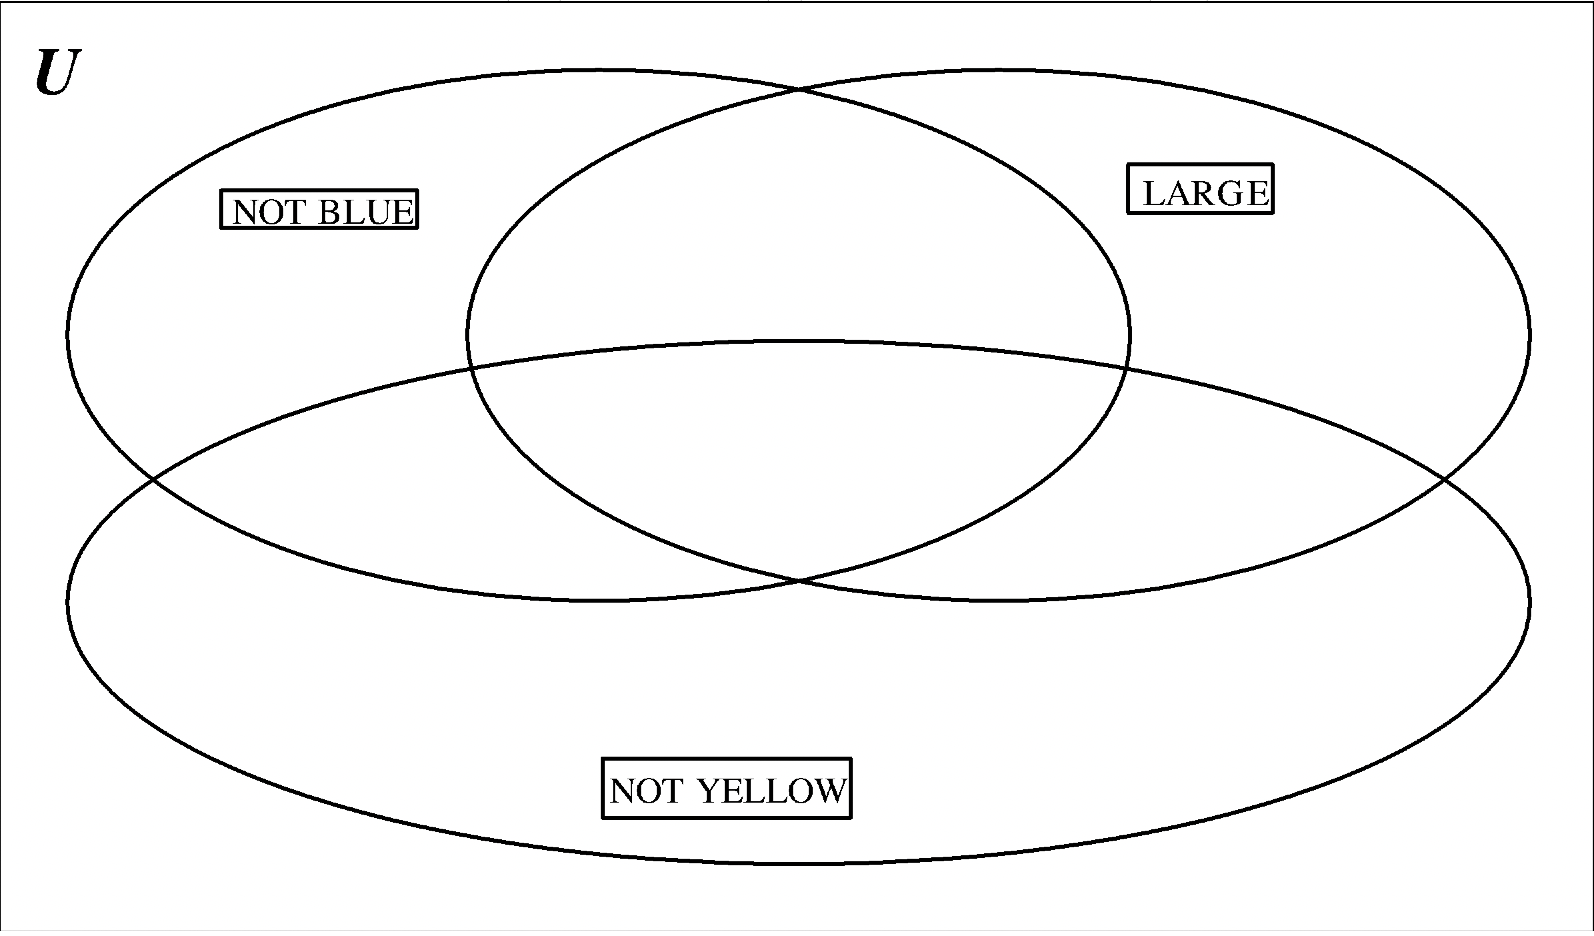
a. Values: NOT BLUE (\(\bf B^{c}\)), LARGE (L), NOT YELLOW (\(\bf Y^{c}\))
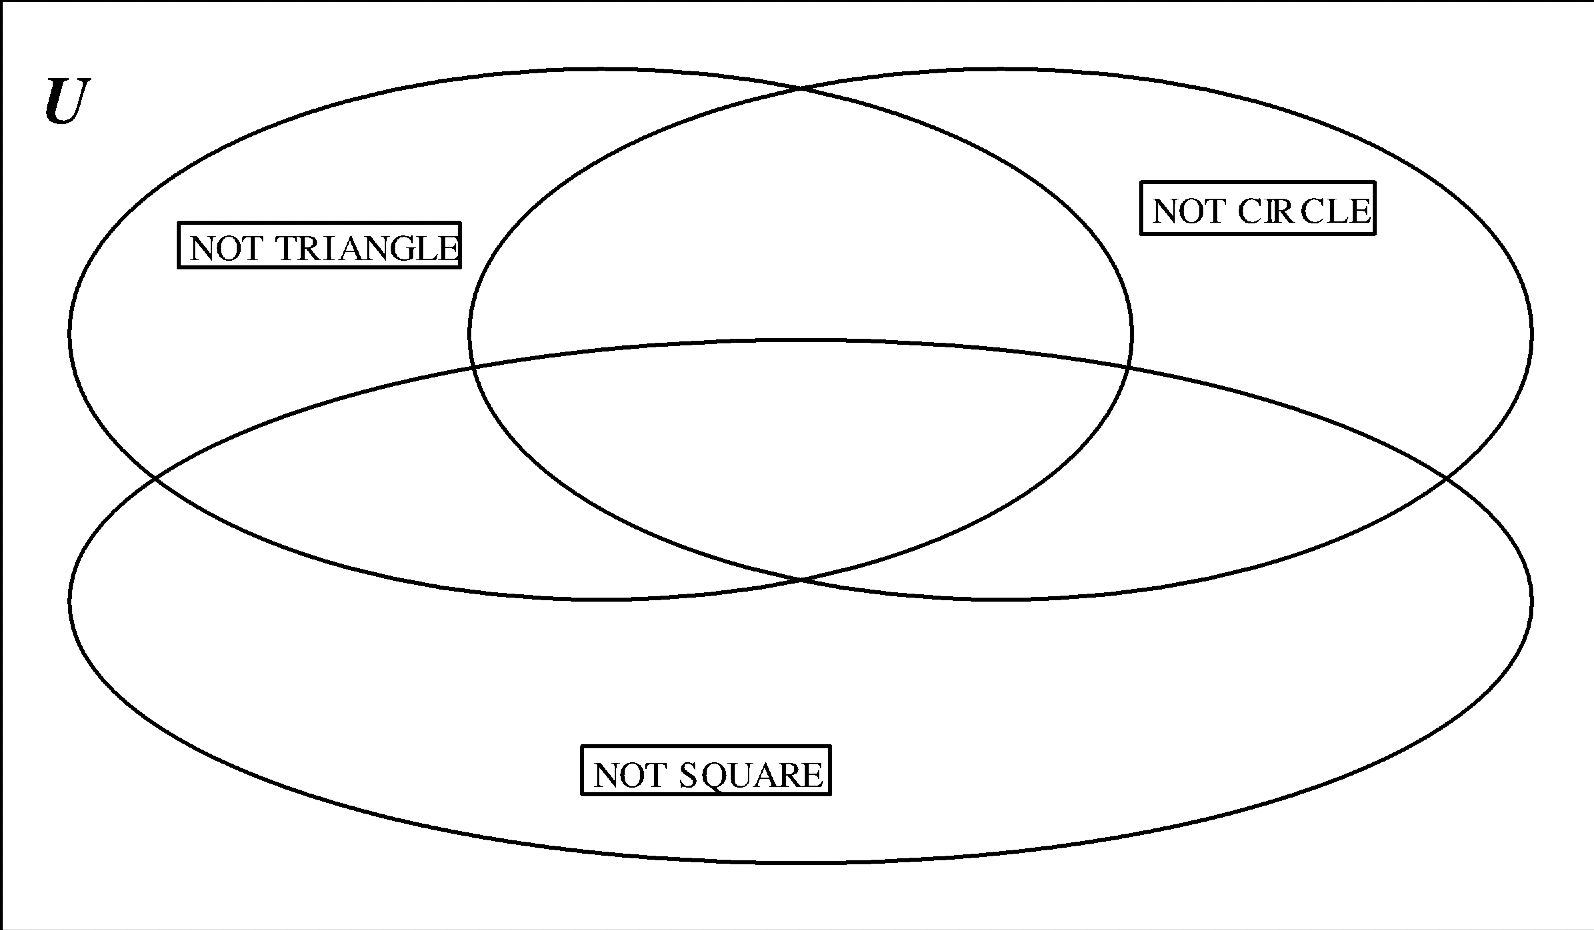
b. Values: NOT TRIANGLE (\(\bf \bar{T}\)), NOT CIRCLE (\(\bf \bar{C}\)), NOT SQUARE (\(\bf \bar{Q}\))
c. Values: BLUE (B), SQUARE (Q), NOT RED (\(\bf R^{c}\))
Name some combinations of value labels that leave no pieces outside the three sets.
Name some combinations that leave exactly one piece outside the three sets. [Hint 1: Pick a piece you want to be left out. Hint 2: Use some NOT labels.]
Write down some combinations that leave the most number of pieces outside the sets. What do you think is the most number of pieces that can be left outside the three circles?
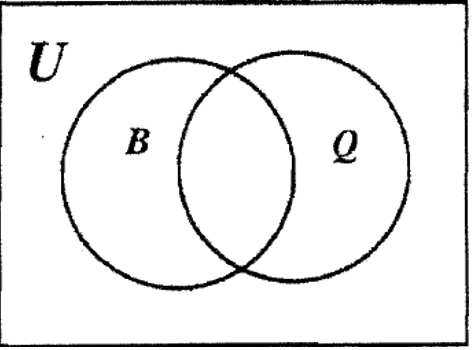
Take one of your blank value label cards and on it, write \(\bf B \cup Q\) (for the UNION of BLUE and SQUARE). Take the label cards NOT BLUE (\(\bf B^{c}\)) and NOT SQUARE (\(\bf Q^{c}\)) from your set. On the poster, put each label on one of the sets. Place each A–block in the correct region.
a. On the Venn diagram below, show where you placed each A – Block.
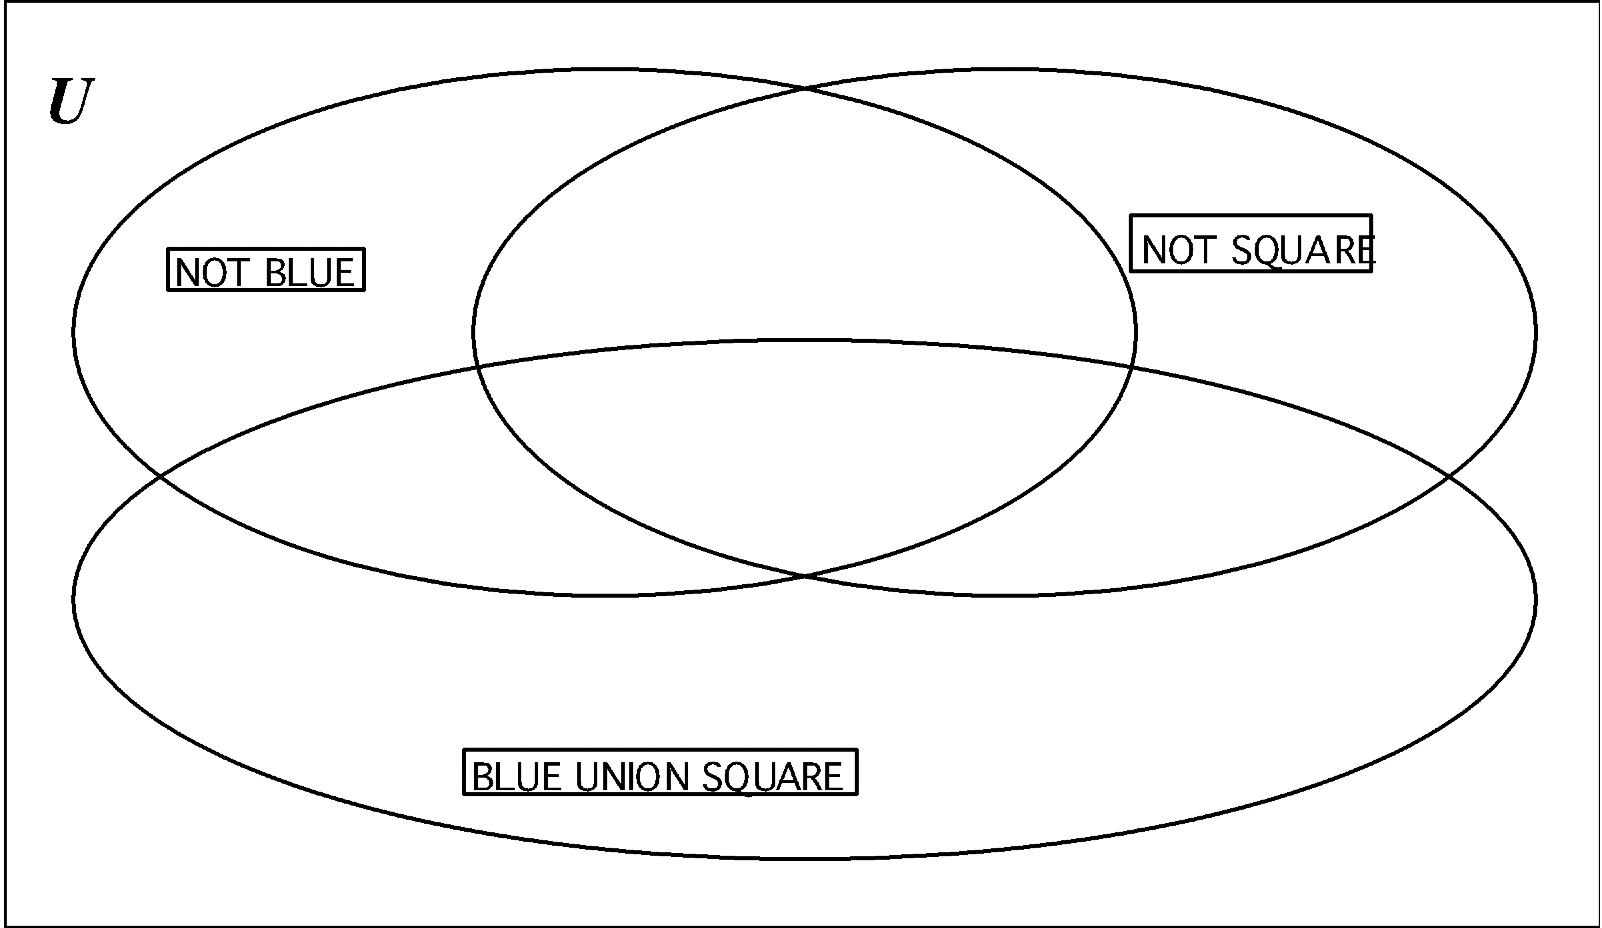
b. Look at the set BLUE UNION SQUARE (B \(\cup\) Q). Look at all of the pieces outside the set B \(\cup\) Q so you can list the elements in \(\bf (B \cup Q)^{c}\) : ____
c. Look at the intersection of NOT BLUE and NOT SQUARE \(\bf B \cap Q^{c}\), and list its elements : ____
d. What do you notice about the elements listed in part b and part c above? ____
e. Write an equation from what you noticed. ____
Make a label card NOT RED UNION CIRCLE (\(\bf R^{c} \cup C\)) and take the labels RED (R) and NOT CIRCLE (\(\bf C^{c}\)) from your set.
a. Following the directions of exercise 8 with these three new labels, show where you placed each A–block on the Venn diagram below.
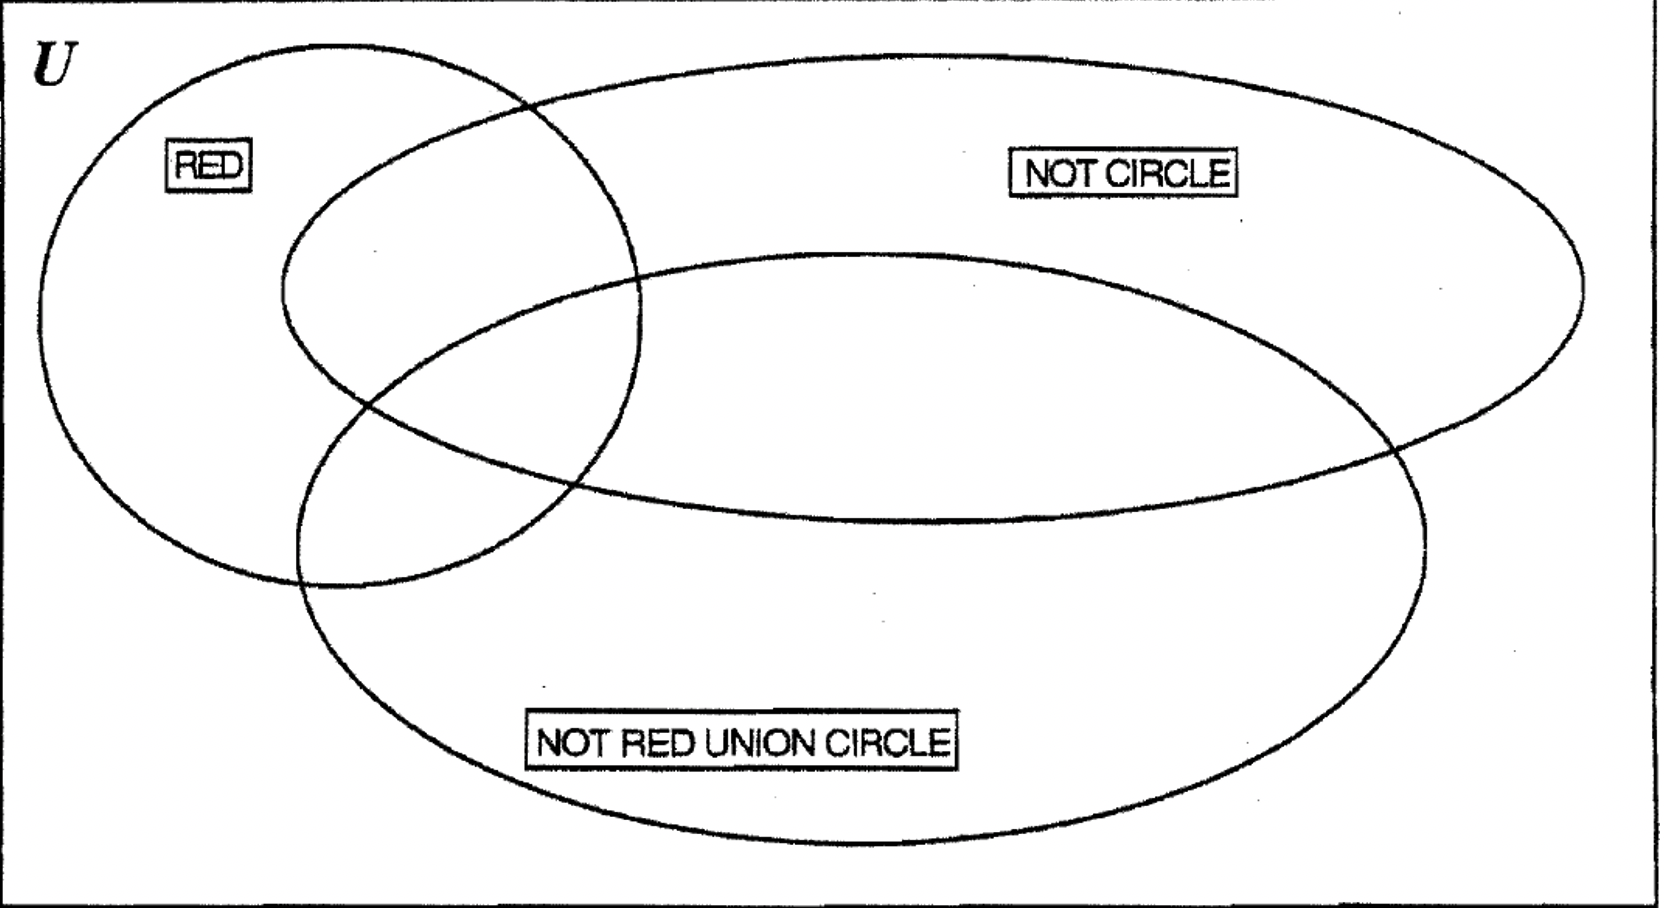
b. Look at the set NOT RED UNION CIRCLE (\(\bf R^{c} \cup C\)). Look at all of the pieces outside the set \(\bf R^{c} \cup C\) so you can list the elements in \(\bf (R^{c} \cup C)^{c}\) : ____
c. Look at the intersection of RED and NOT CIRCLE (\(\bf R \cap C^{c}\)) and list its elements: ____
d. What do you notice about the elements listed in part b and part c above? ____
e. Write an equation from what you noticed. ____
a. Below, on the Venn diagram to the left, shade with vertical lines and shade \(\bf B^{c}\) with horizontal lines. Look at the overlap of both lines and shade this \(\bf Q^{c}\) intersection on the Venn diagram to the right. Therefore, the Venn on the right represents \(\bf (B^{c} \cap Q^{c})\).
 |
|
b. Below, on the Venn diagram to the left, shade \(\bf B \cup Q\). On the Venn diagram to the right, shade everything except \(\bf B \cup Q\). Then, the Venn on the right represents \(\bf (B \cup Q)^{c}\).
|
|
|
c. What do you notice about the shadings for \(\bf (B^{c} \cap Q^{c})\) and \(\bf (B \cup Q)^{c}\) (the Venns on the right for a and b)?
d. Write an equation from what you noticed ___
Below, on the Venn diagram to the left, shade \(\bf (A \cap B)^{c}\). On the Venn diagram to the right, shade \(\bf A^{c}\) with vertical lines and \(\bf B^c\)with horizontal lines. Together, the total shading on the right represents \(\bf A^{c} \cup B^{c}\).
|
a. \(\bf (A \cap B)^{c}\) |
b. \(\bf A^{c} \cup B^{c}\) |
c. What do you notice about the shadings for \(\bf (A \cap B)^{c}\) and \(\bf A^{c} \cup B^{c}\)?
d. Write an equation from what you noticed ____
Exercises 8, 9, 10 and 11 illustrate examples of deMorgan's Laws.
One law states that \(\bf (A \cup B)^{c} = A^{c} \cap B^{c}\).
The other deMorgan's Law states that \(\bf (A \cap B)^{c} = A^{c} \cup B^{c}\).
Remember that A and B are just dummy variables.
Basically, in English, the first of deMorgan's Laws (\(\bf (A \cup B)^{c} = A^{c} \cap B^{c}\)) says that the complement of the union of two sets is equal to the intersection of the complement of each set. Some examples of this law follow.
| \(\bf (M \cup N)^{c} = M^{c} \cap N^{c}\) | \(\bf (L^{c} \cup K)^{c} = L \cap K^{c}\) | \(\bf (X^{c} \cup Y^{c})^{c} = X \cap Y\) |
I like to think of it as distributing the complement over the parentheses. In order to remove the parentheses, take the complement of each of the two sets in parentheses and change the union to intersection.
The second of deMorgan's Laws (\(\bf (A \cap B)^{c} = A^{c} \cup B^{c}\)) says the complement of the intersection of two sets is equal to the union of the complement of each set. Again, it's like distributing the complement over the parentheses. But this time, the intersection changes to union when the parentheses are removed. Here are a few examples of this law:
| \(\bf (M \cap N)^{c} = M^{c} \cup N^{c}\) | \(\bf (L^{c} \cap K)^{c} = L \cup K^{c}\) | \(\bf (X^{c} \cap Y^{c})^{c} = X \cup Y\) |
If you are given the union or intersection of any two sets, you can use deMorgan's Law to write it as the complement of a quantity. For instance, if someone asked you to write an equivalent statement for \(\bf R \cup S^{c}\), you use deMorgan's Laws to write it as \(\bf (R^{c} \cap S)^{c}\). Note how this is done: To get parentheses with a complement outside it when there is none to begin with, as in \(\bf R \cup S^{c}\), begin by putting parentheses with a complement and room to put something inside like this: \(\bf R \cup S^{c}\) = \(( \ )^{c}\). To figure out what goes inside, change the three original parts to their "opposites." From R to \(R^{c}\), from \(\cup\) to \(\cap\), and from \(S^{c}\) to S. This gives use \(\bf R \cup S^{c}\) = \(\bf (R^{c} \cap S)^{c}\). You'll have to use this technique for 12b, d and f.
Use deMorgan's Laws to write an equivalent expression for each statement below.
| \(\bf (R^{c} \cap S^c)^{c}\) | \(\bf M \cap N\) |
| \(\bf (F \cup G^{c})^{c}\) | \(\bf H^{c} \cup I\) |
| \(\bf (P^{c} \cap Q)^{c}\) | \(\bf S \cap T^{c}\) |
Make up two of your own equivalent statements (like in exercise 12) to demonstrate deMorgan's Law.
| a. | b. |
It's time to demonstrate deMorgan's Laws in yet another way. Back in Exercise Set 1, exercise 13, you worked on problems where we let U = {1, 2, 3, 4, 5, 6, 7, 8, 9}, and we defined these subsets of U: A = {1, 2, 3, 4, 5} B = {2, 4, 6, 8} C = {3, 5, 7}. We'll use these defined sets to compute the following and therefore verify deMorgan's Laws:
Example
Show that = \(\bf (A \cap B)^{c} = A^{c} \cup B^{c}\).
Solution
To show the two sides are equal, first simplify the left side by computing the intersection of A and B, (by listing the elements of each and then listing the elements in the intersection). Then take the complement of that set.
\(\bf (A \cap B)^{c} = (\{1, 2, 3, 4, 5\} \cap \{2, 4, 6, 8\})^{c} = (\{2,4\})^c = \{1, 3, 5, 6, 7, 8, 9\}\)
Second, simplify the right side by computing the complement of A and also the complement of B, and then take the union of those two sets.
\(\bf A^c \cup B^{c} = (\{1, 2, 3, 4, 5\})^{c} \cup (\{2, 4, 6, 8\})^{c} = \{6, 7, 8, 9\} \cup \{1, 3, 5, 7, 9\} = \{1, 3, 5, 6, 7, 8, 9\}\)
Since \(\bf (A \cap B)^{c}\) and \(\bf A^c \cup B^{c}\) have the exact same elements, they are equal.
Therefore, \(\bf (A \cap B)^{c} = A^{c} \cup B^{c}\)
Let U = {1, 2, 3, 4, 5, 6, 7, 8, 9} and these defined subsets:
| A = {1, 2, 3, 4, 5} | B = {2, 4, 6, 8} | C = {3, 5, 7} |
Verify the following. Show all the steps as done in the above example. State the final conclusion in words.
a. Show that \(\bf (A \cup B)^{c} = A^{c} \cap B^{c}\)
b. Show that \(\bf (A \cap C)^{c} = A^{c} \cup C^{c}\)
c. Show that \(\bf (B^{c} \cup C)^{c} = B \cap C^{c}\)
You have seen deMorgan's Laws demonstrated in many ways. Do you think you'll remember them? There were several exercises you did in Exercise Set 2 demonstrating these laws. Now is a good time to look back at these pairs of Venn diagram exercises that you shaded in Exercise Set 2 #’s 25 & 28, 26 & 29, 44 & 45 and 50 & 52.
It's time to demonstrate two more interesting properties about sets.
a. We will shade Venn diagrams representing \(\bf A \cap (B \cup C)\) and \(\bf (A \cap B) \cup (A \cap C)\). On the left Venn diagram, shade A with horizontal lines \(\bf B \cup C\) and with vertical lines. Then, the overlap is \(\bf A \cap (B \cup C)\). Shade only the overlap on the middle Venn diagram. Since \(\bf (A \cap B) \cup (A \cap C)\) is a union, shade both \(\bf A \cap B\) and \(\bf A \cap C\) on the right Venn diagram.
 |
\(\bf A \cap (B \cup C)\) |
\(\bf (A \cap B) \cup (A \cap C)\) |
b. What do you notice about the final shadings of the Venn diagrams for \(\bf A \cap (B \cup C)\) and \(\bf (A \cap B) \cup (A \cap C)\)?
As in exercise 14, let U = {1, 2, 3, 4, 5, 6, 7, 8, 9}, and define these subsets of U:
| A = {1, 2, 3, 4, 5} | B = {2, 4, 6, 8} | C = {3, 5, 7} |
Compute the following:
c. \(\bf A \cap (B \cup C)\) = ____
d. \(\bf (A \cap B) \cup (A \cap C)\) = ____
e. What do you notice about the answers for c and d? ____
a. We will shade Venn diagrams representing \(\bf (A \cup B) \cap (A \cup C)\) and \(\bf A \cup (B \cap C)\). On the left Venn diagram, shade \(\bf A \cup B\) with horizontal lines and \(\bf A \cup C\) with vertical lines. Then, the overlap is \(\bf (A \cup B) \cap (A \cup C)\). Shade only the overlap on the middle Venn diagram. Since \(\bf A \cup (B \cap C)\) is a union, shade both A and \(\bf B \cap C\) on the right Venn diagram.
|
|
\(\bf (A \cup B) \cap (A \cup C)\) |
\(\bf A \cup (B \cap C)\) |
b. What do you notice about the final shadings of the Venn diagrams for \(\bf (A \cup B) \cap (A \cup C)\) and \(\bf A \cup (B \cap C)\) ?
As in exercise 14, let U = {1, 2, 3, 4, 5, 6, 7, 8, 9}, and define these subsets of U:
| A = {1, 2, 3, 4, 5} | B = {2, 4, 6, 8} | C = {3, 5, 7} |
Compute the following:
c. \(\bf A \cup (B \cap C)\) = ____
d. \(\bf (A \cup B) \cap (A \cup C)\) = ____
e. What do you notice about the answers for c and d? ____
Exercises 15 and 16 demonstrate two distributive properties of sets.
The first distributes intersection over union:
For three sets, A, B and C, \(\bf A \cap (B \cup C) = (A \cap B) \cup (A \cap C)\).
The second distributes union over intersection:
For three sets, A, B and C, \(\bf A \cup (B \cap C) = (A \cup B) \cap (A \cup C)\).
Below are some examples of these properties.
\(\bf A^{c} \cup (M^{c} \cap N) = (A^{c} \cup M^{c}) \cap (A^{c} \cup N)\)
\(\bf (B \cap T^{c}) \cup (B \cap S) = B \cap (T^{c} \cup S)\)
Use the distributive properties of sets to rewrite each of the following (don't be thrown off by complements):
a. \(\bf X \cap (Y \cup Z)\) = ____
b. \(\bf P \cup (Q^{c} \cap R)\) = _____
c. \(\bf (K^{c} \cap L) \cup (K^{c} \cap M)\) = ______
d. \(\bf (D \cup E^{c}) \cap (D \cup F)\) = _____
Exercises 53 and 54 in Exercise Set 2 demonstrated one of the distributive laws. Now is a good time to look back at these.