7.8: Geometry in Art and Science
( \newcommand{\kernel}{\mathrm{null}\,}\)
Tessellations
A tessellation[1] is a design using one ore more geometric shapes with no overlaps and no gaps. The idea is that the design could be continued infinitely far to cover the whole plane (though of course we can only draw a small portion of it).
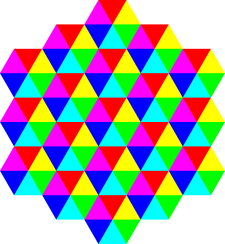


Many tessellations have translational symmetry, but it’s not strictly necessary. The Penrose tiling shown below[2] does not have any translational symmetry.

It’s actually much harder to come up with these “aperiodic” tessellations than to come up with ones that have translational symmetry. So we’ll focus on how to make symmetric tessellations.
The first two tessellations above were made with a single geometric shape (called a tile) designed so that they can fit together without gaps or overlaps. The third design uses two basic tiles. Tessellations are often called tilings, and that’s what you should think about: If I had tiles made in this shape, could I use them to tile my kitchen floor? Or would it be impossible?
On Your Own
Work on these exercises on your own or with a partner. You will need lots of copies (maybe 10–15 each) of each shape below. In each problem, focus on just a single tile for making your tessellation.
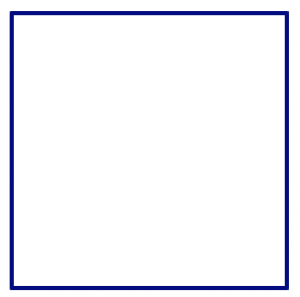
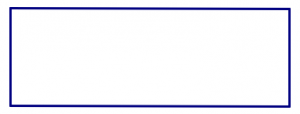
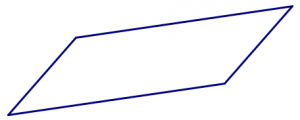
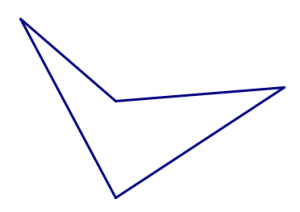

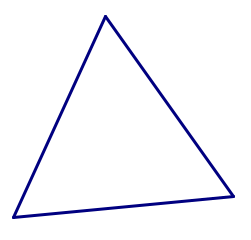
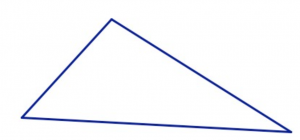
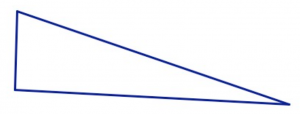
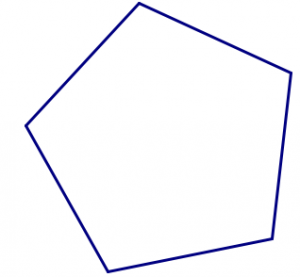
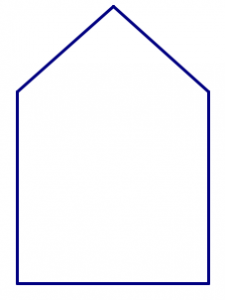
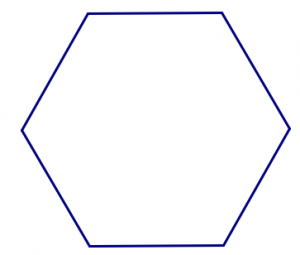
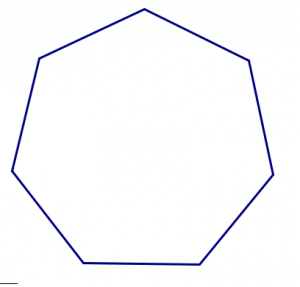

- Start with the square tile. Can you fit the squares together in a pattern that could be continued forever, with no gaps and no overlaps? Can you do it in more than one way?
- Now try one of the triangular tiles. Can you use many copies of a single triangle to tessellate the plane?
- Repeat this process with each of the other tiles. Keep track of your findings.
- Which of the tiles given above tessellate, and which do not?
- Do you have any conjectures based on this experience, about which shapes will tessellate and which will not?
Escher Drawings
The artist M.C. Escher created many works of art inspired by mathematics, including some very beautiful tessellations. Below you will see some images[3] inspired by his work. You can view the real thing at http://www.mcescher.com/ in the “Symmetry” gallery.

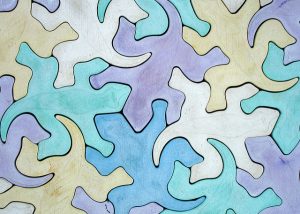
You can make your own Escher-like drawings using some facts that you learned while studying tessellations.
Any triangle will tessellate. So will any quadrilateral.
The explanation for this comes down to what you know about the sums of angles. The sum of the angles in a triangle is 180°.

So if you make six copies of a single triangle and put them together at a point so that each angle appears twice, there will be a total of 360° around the point, meaning the triangles fit together perfectly with no gaps and no overlaps.
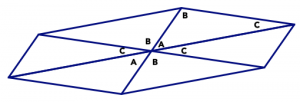
You can then repeat this at every vertex, using more and more copies of the same triangles.

- Use the fact that the sum of the angles in any quadrilateral is 360° to explain why every quadrilateral will tessellate.
- Use angles to explain why regular hexagons will tessellate.
- Explain why regular pentagons will not tessellate.
On Your Own
Work on the following exercises on your own or with a partner. Here’s how you can create your own Escher-like drawings.
- Select your basic tile. The first time you do this, it’s easiest to start with a simple shape that you know will tessellate, like an equilateral triangle, a square, or a regular hexagon.
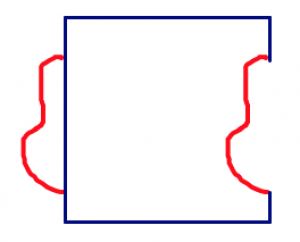
- Draw a “squiggle” on one side of your basic tile.

- Cut out the squiggle, and move it to another side of your shape. You can either translate it straight across or rotate it.
 |
or | 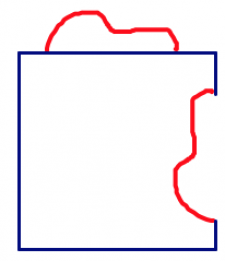 |
- It’s important that the cut-out lines up along the new edge in the same place that it appeared on its original edge.
- Tape the squiggle into its new location. This is your basic tile. On a large piece of paper, trace around your tile. Then move it the same way you moved the squiggle (translate or rotate) so that the squiggle fits in exactly where you cut it out.

- The shape will still tessellate, so go ahead and fill up your paper.
- Now get creative. Color in your basic shape to look like something — an animal? a flower? a colorful blob? Add color and design throughout the tessellation to transform it into your own Escher-like drawing.
- If you want to try a more complicated version, cut two different squiggles out of two different sides, and move them both.
Building Towers
For this activity, you will need some construction materials:
- You’ll need lots of toothpicks.
- You’ll also need something to connect the toothpicks together. The best material for this is mini marshmallows; you can stick the ends of the toothpicks into the marshmallows to connect them. You can also use pieces of clay, bits of gummy candies, or other similar (sticky) material.
Try this as a warm-up activity. Grab exactly six toothpicks. Your job is to make four triangles using all six toothpicks. You cannot break any of the toothpicks or add any other materials besides the marshmallow connectors.
Now comes the main challenge. You have ten minutes to build the tallest free-standing structure that you can make. “Free-standing” means that it will stand up on its own. You can’t hold it up or lean it against something. When the ten minutes are up, back away from your tower and measure its height.
Look at your own tower and at other students’ towers. Talk about these questions:
- What design choices led to taller free-stranding structures? Why do you think that is?
- If you had another ten minutes to try this activity again, what would you do differently and why?
- Triangular tessellation from pixababy [CC0]. Hexagonal and rhombic tessellations from Wikimedia Commons [Public domain]. ↵
- Image via Wikimedia Commons [Public donmain]. ↵
- Images from flickr [CC BY-NC-SA 2.0]. Birds by Sharon Drummond. Lizard tiles by Ben Lawson. ↵

